3D Moulding and Casting
Assignment
Design a 3D mould, machine it, and cast parts from it.Learning Outcomes
Design appropriate objects within the limitations of 3-axis machining.Demonstrate workflows used in mould design, construction and casting.
Design Process
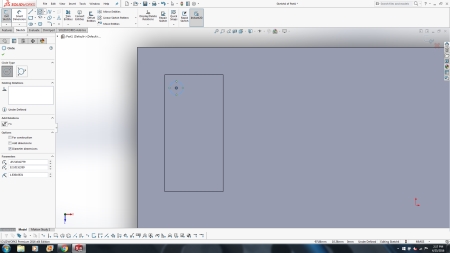
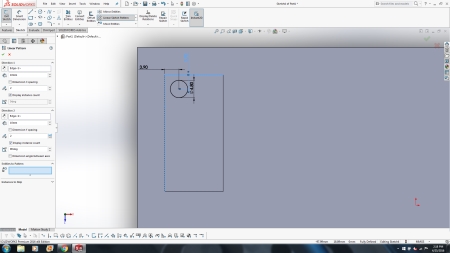
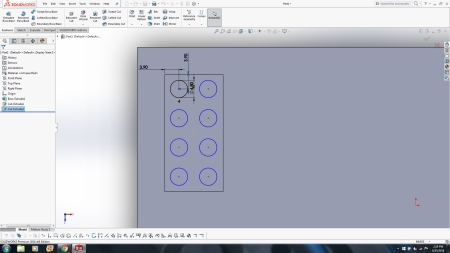
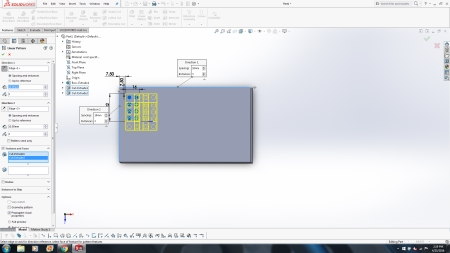
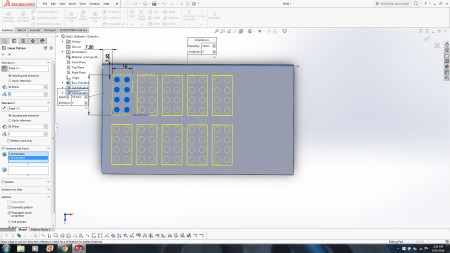
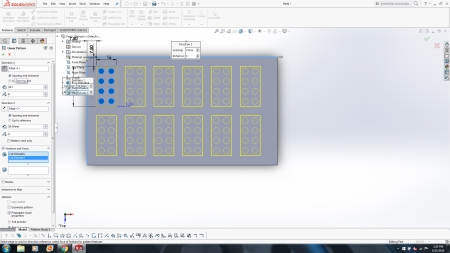
For this week, I wanted to design a custom ice tray to make custom ice cubes. I started off designing a female part in SolidWorks. I used dimensions of a standard 4x2 Lego brick for the ice cubes and got the dimensions from here. I wanted 12 ice cubes from the tray so I designed one in the block and then used the "linear pattern" tool in SolidWorks to space out the other 11 cubes. The below figures show the design process in SolidWorks.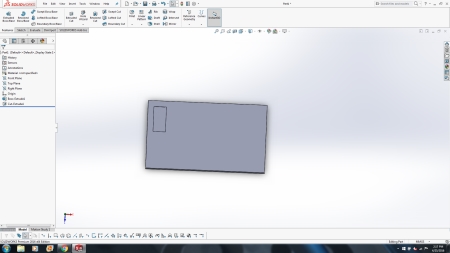
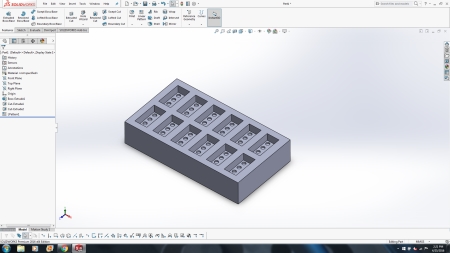

After I had the final design, I saved the file as a .stl file for the Roland Modela.
Cutting the Mold
Since this was my first time using machinable wax to make a mold, I researched other fabacademy student pages and found Yabed Contreras' page in which he outlines how to import the .stl file using fab modules so that it could be cut on the Roland Modela. The following steps were taken from his page:1. Opened Fab Modules in Ubuntu.
2. Changed the default setting to "mm,1/8,wax, rough"
3. Loaded .stl file into Fab Modules.
4. Clicked "make.png" to make .stl into .png for cutting.
5. Clicked "make.path" to generate the rough toolpath.
6. Took wax block and used hot glue to make sure it stayed on machine bed.
7. Set the z-axis by bringing toolhead down cut until it hit the top of wax block.
8. Clicked "make.rml" and then clicked "send it"
9. Waited until Roland Modela was done cutting.
While Waiting: Checked out past student pages on fabacademy.org archive, made some soup, twiddled thumbs and kept checking on machine to see how it was cutting.
.JPG)

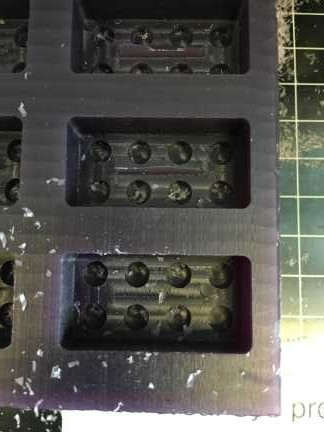
10. After the Roland Modela was done rough cutting, I changed the setting to a finish cut. The setting for this was "mm,1/8,wax, finish" in the Fab Modules.
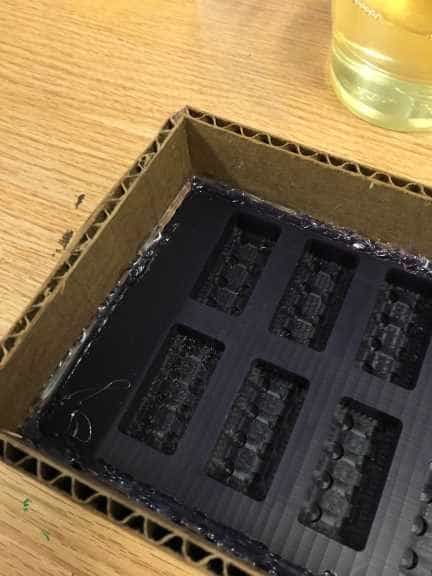
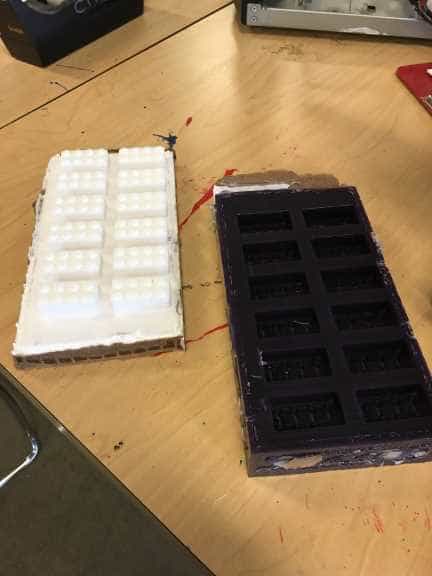
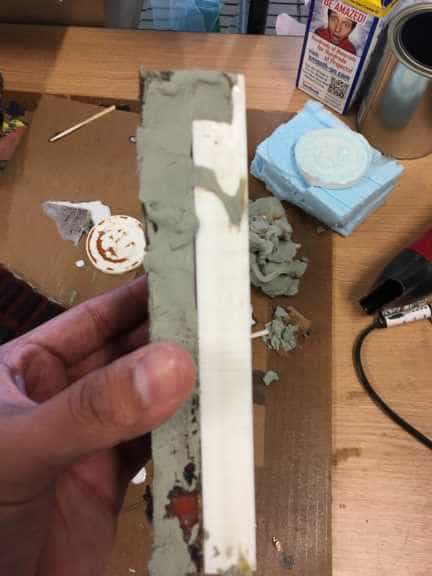
11. Didn't not change any of the settings and created a .path and .rml and ran the machine on the finish cut. The pictures below show the finished design for molding.

Molding Process
For the Molding Process I did the following:1. Made a box siding out of cardboard to go around the wax design.
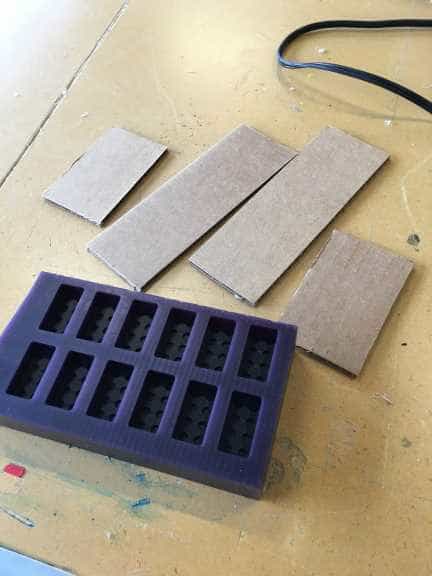
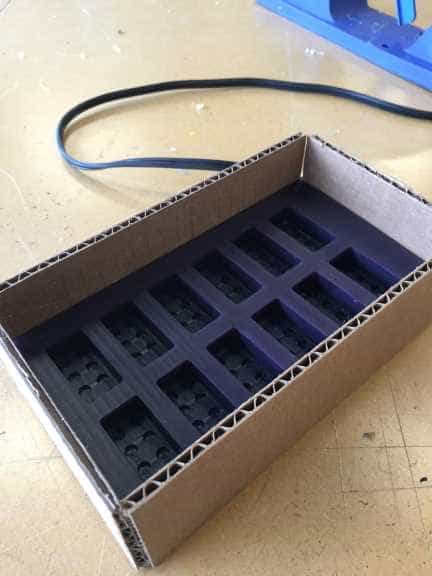
2. I then sealed the edges using hot glue.
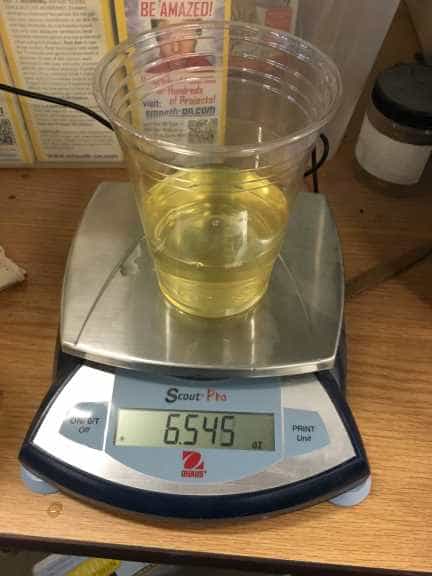
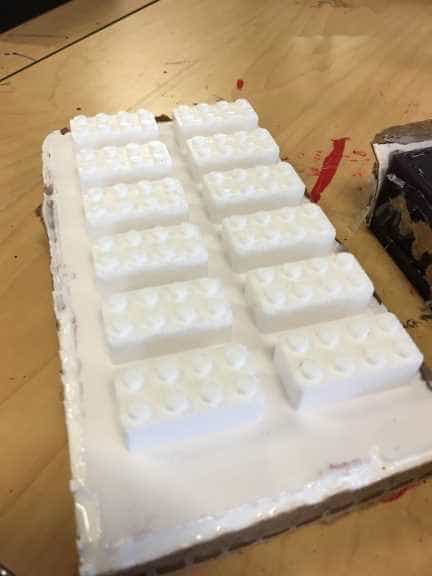
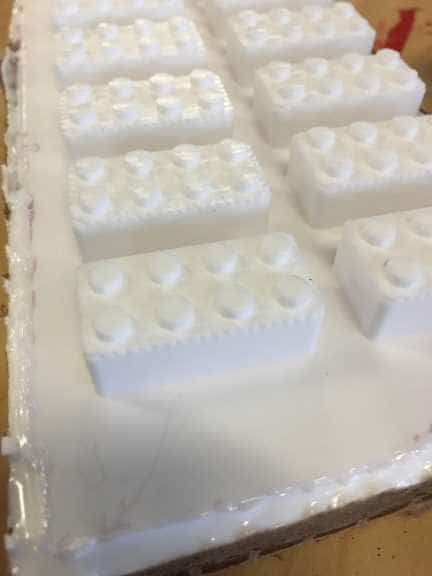
3. Using the Smooth-On, Smooth-Cast 305 product and measured out the 1:1 ratio of parts A and B. I first put the cup on the scale and zeroed the scale and then added the product. Once done I combined parts A and B together and used a wooden popsicle stick to stir the products together.
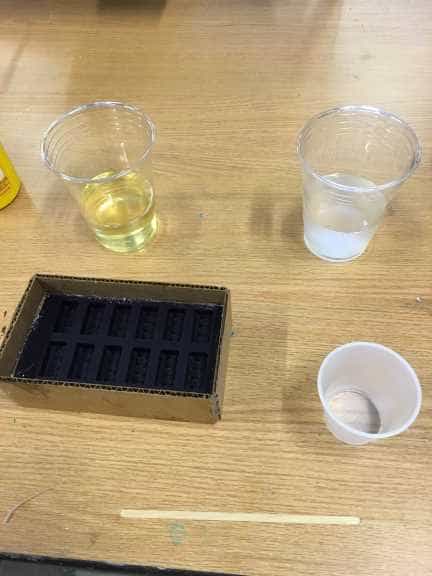
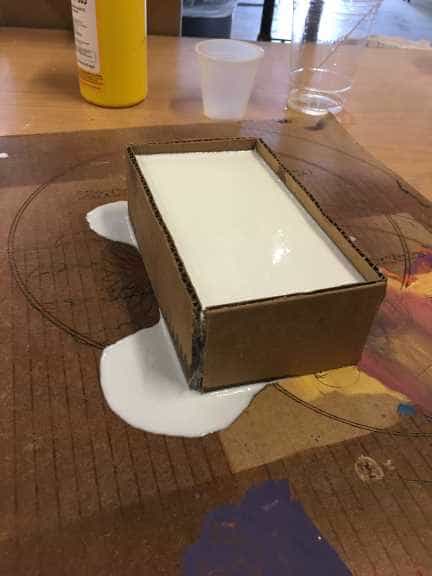
4. I then poured the mixture into the wax design and let the product cure. This product actually cures really fast, with a cure time of 30 minutes. As shown in the pictures, the seal was not the greatest and some of the product leaked through, but the mold came out still. Once done, I removed the mold from the wax design and it is now ready for casting.
Casting Process
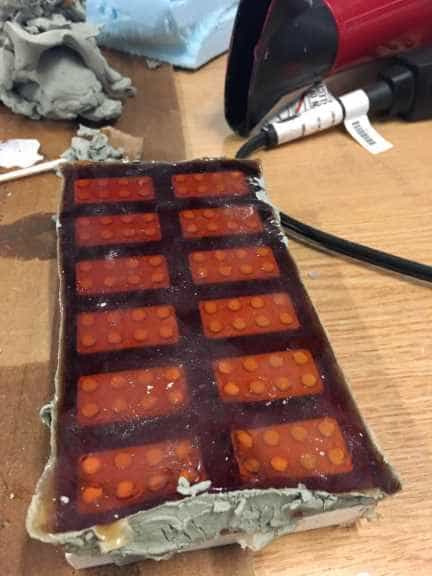
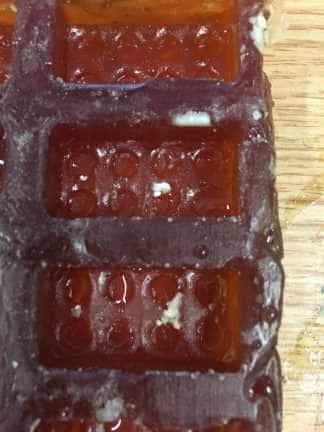
For the casting process I pretty much used the same process except this time I used the Smooth-On, PMC-121/30 product. This product also uses a 1:1 ratio, but has a cure time of 24 hours. I used this product because I wanted a jelly like end product for the ice tray. Also I started with this product to see how it would turn out before using a food safe product. The following pictures show the casting product over the mold.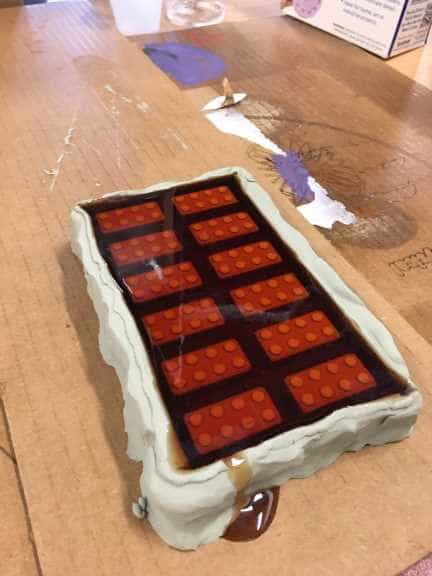
Once I let the cast cure, I tried to take it out and it would not! I forgot to put a mold release on the mold and the mold and cast are now stuck together.
Recasting and Molding
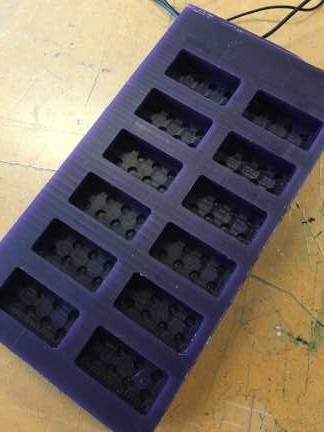
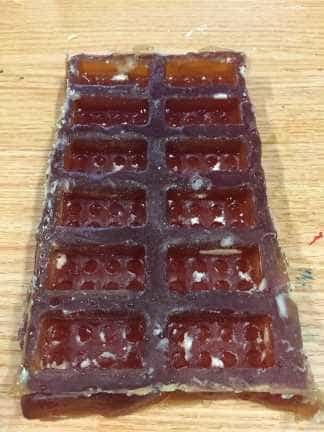
Since the first cast I did did not release because I forgot the mold release, I followed the same steps as above this time putting on a mold release before pouring the silicone. After the silicone cured I was able to remove it from the mold. It turned out fairly well and I will now cast this design using a food safe product since I will be using these for ice cubes. The photos below show the final product.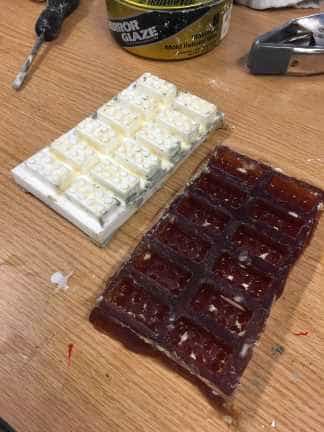
Lessons Learned
DO NOT FORGET THE MOLD RELEASE!!!Make sure you have a good border so the product does not run out the sides.
Project Files
SolidWorks Part: Lego Ice TrySTL File: Lego Ice Tray